Friday, June 6, 2014

Summer Pt. 3

This is the last update so far this summer, I promise.  While at the store buying blueberries for the muffins in the last post, I happened upon a new product I wanted to try.  I haven't had a cinnamon roll in who-knows-how-long, and there, sitting in front of me, was a boxed cinnamon roll mix.  I had to have it.  So, I made an impulse purchase.  The brand is chebe, and I found it on the shelf in the gluten free section of Giant. The box is pictured to the right.  It was a simple mix, the only things needed were 3 T. oil, 2 T. milk, and 2 eggs. Also, 2 T. soft butter, 1/4 c. brown sugar, and 2 t. cinnamon were needed for the filling.

I followed the directions on the back of the box, and it was really simple.  Put the oil, milk, eggs, and powdered mix into a bowl and mix together.  I started with a whisk and finished with my hands. The dough should be elastic but sticky. I then put 2 pieces of parchment paper out and rolled the dough between them; I didn't want to have to clean the counters. Roll it into a rectangle, about 11in by 8 in. Spread 1 T. butter over the dough with a butter knife (seen left). Mix the other T. butter, the brown sugar, and the cinnamon with a fork until combined and crumbly.  Sprinkle the cinnamon mixture over the top of the rolled out dough.  Then, taking the dough from the long side, roll it into a log. Cut the log into 1 inch pieces, and put into a greased muffin tin.  Bake at 375 for 15-18 minutes, until light brown in color. Immediately remove from the muffin tin and turn over onto a plate, sticky side up.

The cinnamon rolls were really good, but semi labor intensive.  The dough was sticking to the parchment and didn't roll very easily.  I wish they had peel and bake cinnamon rolls.  Also, I would recommend putting the cut rolls into a cake pan, and baking like that so they all soak up all the buttery goodness.  Also, there was no glaze to spread over the top, which was mildly disappointing. Overall, not something I would do again, but worth it for the one time.

Summer Pt. 2

As you can see from my previous post, I made lemon pound cake.  The next project I took on was blueberry muffins. I somehow decided I was CRAVING muffins like none other, and I haven't had a good one in a while.  Sure, Udi's makes a decent muffin, but there is something amazing about a muffin right out of the oven, right after you baked it yourself.  ATK's "The How Can It Be Gluten Free Cookbook" just so happens to have a gluten free blueberry muffin recipe in it.  I used it, with a few tweaks here and there.  Here is the original recipe:

Ingredients
11 oz. ATK GF Flour
1 T. baking powder
1/2 t. salt
1/4 t. cinnamon
1/4 t. xantham gum
5 1/4 oz. sugar
8 T. butter, melted
1/2 c. plain whole-milk yogurt
3 eggs
1 t. vanilla
7.5 oz. blueberries
2 T. turbinado sugar


Recipe
Preheat the oven to 375 and grease a muffin tin. I used cupcake liners to have an easier clean up.  Next, start with a large bowl. Whisk together flour, baking powder, salt, cinnamon, and xantham gum.  In another bowl, whisk together sugar, butter, yogurt, eggs, and vanilla until well combined. Make sure you get all the way to the bottom of the bowl so the sugar doesn't settle.  Using a rubber spatula, fold the liquid into the dry ingredients until fully combined and there are no lumps.  Dump in the blueberries and mix until combined. Do this gently so the blueberries don't break and bleed into the batter.  Cover the bowl with plastic wrap and let sit for 30 minutes. After 30 minutes is up, spoon the batter into the muffin cups and bake for 15-20 minutes.  Halfway through the 15-20, turn the muffin tin around in the oven so you can bake evenly.  A toothpick should come out clean when inserted into the middle of the muffin.

I changed a few things in the recipe. To start, I didn't have yogurt, so I used 1/2 cup sour cream.  Also, I added the zest of one lemon to the recipe before I added the blueberries. I really like the combination of blueberries and lemon, so I figured this would be good.  I didn't have any turbinado sugar, so I just didn't use it.  Instead, I made a quick glaze of 1/4 cup powdered sugar and about 2 t. lemon juice and spooned it on top of the muffins.  It added the sweetness of the sugar without having to search for the big crystal sugar.  Another variation that could work is to use raspberries instead of blueberries.  I almost did this, but I went to the store specifically to buy blueberries, so I figured I would use them.

As for letting the batter sit, according to ATK, letting it sit for 30 minutes makes it not grainy.  When I ate the muffin, it was perfect.  It had the right amount of sweetness and tangy, with the blueberries bursting when I bit into it. The crumb was small enough and moist enough that it was the absolute perfect consistency. I wouldn't use muffin cups next time, though, because the bottom of the muffin stuck to it.  Otherwise, I would definitely make this recipe again. It really hit the spot!

Summer

Since it is summer, I have decided to bake everything I can get my hands on.  I had a lot of lemons, so I started by making a lemon pound cake.  I did a little research, and realized America's Test Kitchen has a recipe in their "How Can It Be Gluten Free Cookbook" which I so happen to have gotten from my mom (Thanks mom!).  The recipe is actually fairly simple, but you do need a food processor.
Ingredients
7 oz. ATK Gluten Free Flour Blend
1 t. baking powder
1/2 t. salt
1/4 t. xanthan gum
8 3/4 oz sugar
2 T lemon zest
1 T lemon juice (about 2 lemons)
4 large eggs
4 oz cream cheese
1.5 t vanilla
8 T butter, melted

2 oz powdered sugar
2 t. lemon juice

Recipe
Start by preheating your oven to 350.  Spray or butter and flour a loaf pan and set aside.  In a bowl, whisk flour, baking powder, salt, and xantham gum together. Set this aside. In the food processor, pulse sugar and zest together.  Add lemon juice, eggs, cream cheese, and vanilla and process until combined. Using the feed tube, add the melted butter while the processor is running.  Let it run about 30 seconds. Add the liquid mix to the flour mix and whisk together until smooth and combined.  Pour the batter into the pan and bake for 15 minutes. After 15 minutes, reduce the heat to 325 and bake for another 20 minutes. Turn the pan, and bake another 10-15 minutes, until golden and a toothpick comes out clean. Let sit for 10 minutes, then run a knife around the edge and turn out onto a cooling rack.  Let the cake cool completely, about 2 hours.

30 minutes before serving, whisk together the powdered sugar and lemon juice until smooth.  Spread evenly over the top of the cake and let sit 15 minutes, until hard and opaque.

I didn't have any cream cheese, so I decided to sub sour cream for cream cheese.  As far as I can tell, it worked the same as cream cheese would have, while also being a little bit healthier (or as healthy as a pound cake can be).  Also, I didn't wait to turn out the cake or to let it cool, so the glaze sort of melted into the cake and it broke apart a lot.  Overall, it tasted amazing and had a really smooth consistency.  It wasn't grainy, and had a dense, nice crumb to it.  I served it with some fresh raspberries. It could also be served with a simple raspberry sauce. Additionally, 1/4 cup poppy seeds can be added to the flour mixture for another variation on this awesome recipe.


Sunday, January 12, 2014

Bagels!

I just got back from Southeast Asia, which, of course, means I had to bake ALL OF THE THINGS! Today I made a loaf of bread as well as bagels.  I have made bagels before, but never of the gluten free variety.  The recipe is as follows, originally here (it is the comment by AlwaysSomething):

2 packets active dry yeast
2 cups warm water
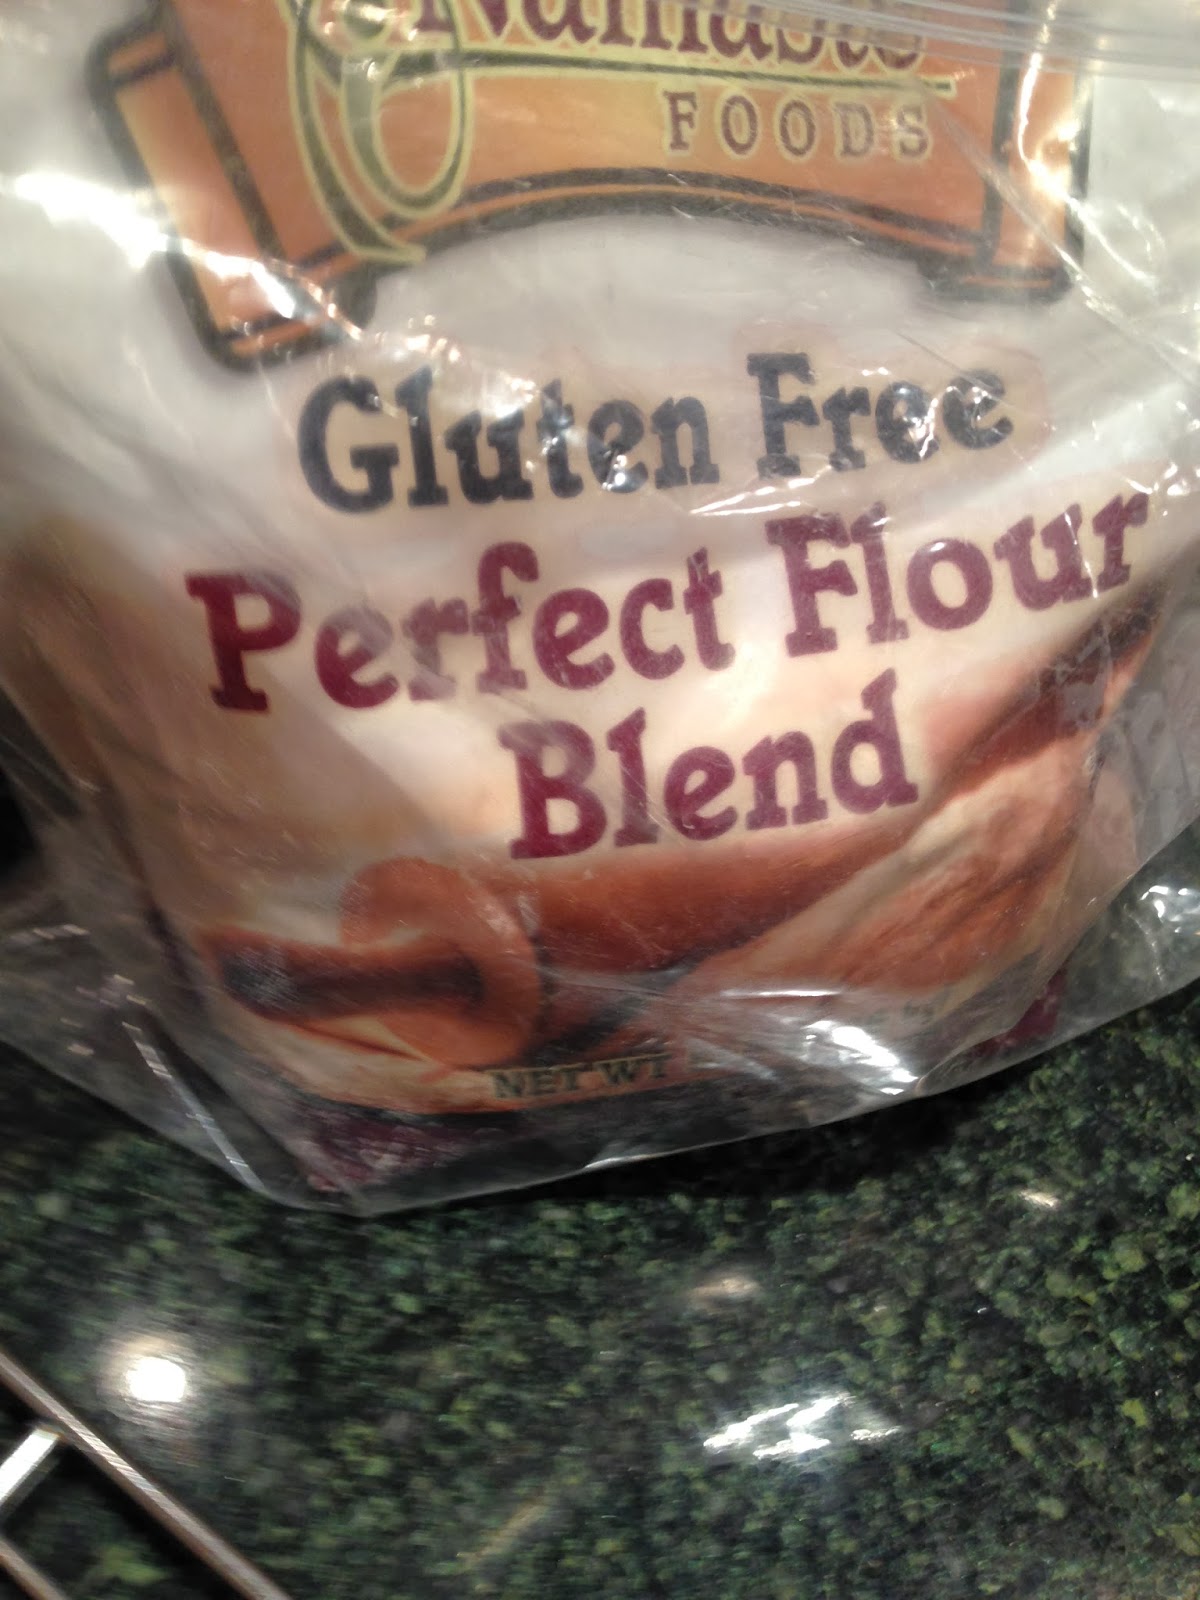
5 1/2 cups Cup4Cup all purpose GF flour (I use Namaste brand, which can be bought at Costco for fairly cheap)
3 TBSP sugar
2 Tsp salt
2 quarts boiling water

I added 2 eggs as well as an extra Tablespoon flour.

Start by combining the 2 Tbsp yeast with the 2 cups warm water and stir lightly.  Let sit until it starts to bubble and foam.  While that is blooming, put the flour, sugar, and salt in the bowl of a mixer.  I started using the dough hook for this. Put the mixer on low and mix the flour until a well forms. Add in the yeast mixture and start to beat on medium.  Add in the two eggs and mix until a ball forms. At this point, I switched from the dough hook to the paddle attachment. It combined the flour with the wet ingredients more easily.  If your dough is too sticky, add in the extra Tbsp flour.  I ended up adding the extra flour to my dough.  Cover the dough with plastic wrap and let sit in the bowl for 30-45 minutes. The dough should rise, but not significantly.

While the dough is rising, boil the 2 quarts water.  The original recipe calls to boil the 2 quarts water with 2 Tbsp. canola oil.  I didn't add the oil; I think it is to prevent the dough from sticking but it is optional.  As the water boils, prepare a baking sheet with parchment paper.  You can dust it with cornmeal if wanted. One of my sheets had cornmeal, the other didn't and the bagels all turned out fine.  After the 45 minutes, uncover the dough and start to form bagels.  Grab a hand-full of dough and roll it like a snake.  Put the two ends together. If needed, wet one end of the dough to help them stick together.  After you roll out all of the dough, poach the bagels.  Drop them into the boiling water and let them boil.  I did about 1 minute on each side, but it doesn't have to be very precise.  After the dough is poached, remove from the boiling water and let them drain a second.

Transfer them to the parchment and top with whatever you so choose.  I used a mixture of sesame seeds, poppy seeds, and minced garlic.  Because the dough just came from the water, the toppings will stick well.  You can also brush with egg for an egg bagel instead of using toppings.  Put the bagels into a 400 degree oven for 14 minutes.  I had two cookie sheets with bagels so I rotated the cookie sheets after 7 minutes. This means the upper rack moves to the bottom, and the bottom to the top.  In addition, rotate the sheets so the bagels in the back are in the front and the front are in the back.  I then baked an additional 3 minutes, switched the sheets again, and 3 more minutes until they were golden.  I baked them a total of 20 minutes with two rotations of the sheets. I was able to make 17 irregularly sized bagels about the size of a mini bagel.  If making full sized bagels, it should yield around 10...I'm guessing.

Once cooled, slice in half and schmear on whatever you choose. My favorite is to start with a little butter and then add some lox cream cheese and Muenster cheese.  You can also add fresh smoked salmon or smoked white fish, or any other bagel topping.

Enjoy!

Bread is going to be another post...eventually.